Preparing for Exterior Rendering
Relates video tutorials to this written tutorial:
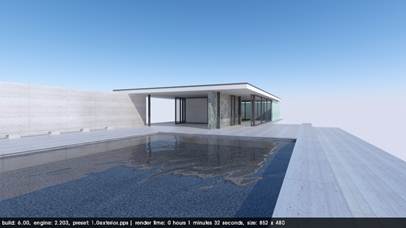
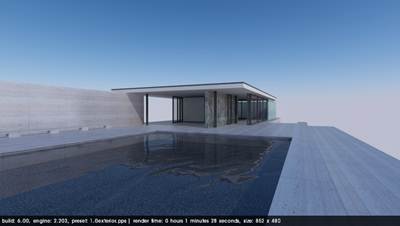
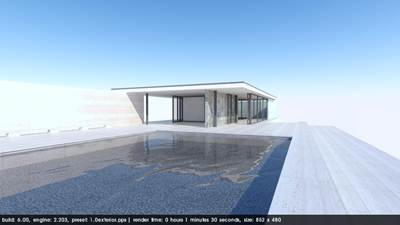
Choose a preset
The first step to setup any Podium rendering is to choose which preset to use. There are three categories of presets; default, exterior and interior. Default is a general purpose preset not calibrated for anything specific. On the other hand the two others presets are especially made to give the best results for their specific environment. In addition, these two presets have several variation to give different quality and speed results which are _preview (lowest quality but fastest), _high (highest quality using irredence caching), QMC (unbiased), _fine which has anti-aliasing turned up and the _default.
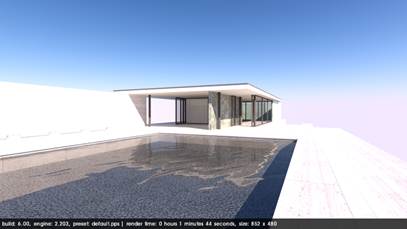
Although, it is recommended to use the _high or _QMC preset, when you notice imperfections, blotches or blemishes, _exterior_default.pps is often sufficient. Default.pps preset is not adequately calibrated for exteriors scenes and results but it works in many cases and it is fast. _exterior_default.pps is generally the best choice for your exterior scenes. (Exterior scene would be defined as a environment that uses either sun light or sky light or both as predominant light source.) _exterior_fine_AA.pps does not have higher quality but provides much more anti-aliasing and smoothing to edges.
Take a look at the Preset Comparison page to visualize the effect of each preset
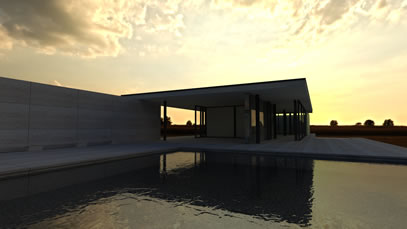
Sunlight and physical sky
After you have selected your preset, you can adjust sky and sun light. Do not forget to activate shadows in SketchUp for Podium to use Physical Sky and use its own sun orientation. Podium physical sky is the key for realistic renders. This will give a greater color depth than the SketchUp sky. Make sure it is activated in the “Environment” tab of the Podium Option window. It is also in this window that you will able to adjust the Sun strength. You can modify brightness with the intensity and exposure sliders.
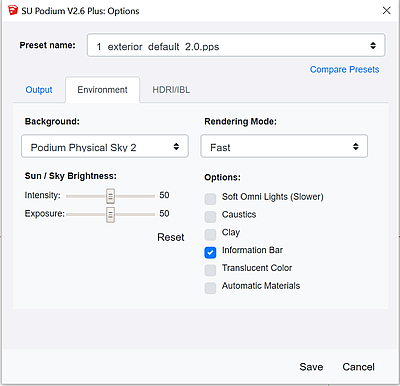
Intensity controls the brightness of areas that are exposed to sunlight. Exposure will control brightness of shaded areas. If you want to simply adjust the sun’s strength, move the two sliders equally. Be generous because less than 25% changes will not have an effect.
Sun Intensity/Exposure at 0%
Sun Intensity/Exposure at 100%
You are now ready to do some test renderings, add advanced material properties and some detailing to get the best rendered image.
Quick way to control sun/sky brightness
One thing to keep in mind is SU Podium V2.x’s Physical Sky (in the Options/ Environment tab). As a default, Physical Sky is off but if it is on, it will simulate sky turbidity and depth. Podium will only render Physical Sky when it is turned on AND when SketchUp Shadows are on. When Physical Sky is on, the sun intensity and exposure sliders in the Environment dialog are the most effective way to change sun light. Changing the sun’s angle by changing SketchUp’s time of day is also effective.
Your choice of SU Podium Presets will also effect sun/ sky brightness greatly. The default preset or default.pps is created with no specific environment in mind. It is the fastest preset. However, if you are rendering an outdoor or exterior scene, use one of the exterior presets. You will be able to control the sun and sky brightness more effectively.
The interior preset is a very bright preset and is intended for interior scenes. If you use interior preset in an exterior scene which is using sun light, the rendering may look extremely bright and even look like white out.
Using Podium Styles
Physical Sky has a sky color gradient that you can not control. The color will depend on the time of the day that your SketchUp shadows are set to. If you don’t like this effect and/ or want to have control of the sky color as well as additional control of sun light, do the following:
- Turn off Physical Sky in the SU Podium Options/Environment dialog.
- Go to SketchUp Styles and then to Background. Turn off Sky. Darken the color of your background.
- Use one of the Podium Styles from the SketchUp Styles dialog (make sure Physical Sky is off)
- If your SketchUp Shadows are on, change the time of day of month so the sun is at a different angle such as early morning or late afternoon so the sun is on the horizon and not directly above.
- Another option to control the sun's angle is to use SketchUp's Extension Solar North and change the direction of the north so you know where East and West is relative to your scene.
HDRI/ IBL lighting
The alternative lighting to sun/ physical sky is the HDRI/ IBL lighting which is available in SU Podium V2.6 and above.
When HDRI/ IBL image based lighting is activated, it becomes both the background of the render and the primary light source, replacing the Podium sun and Podium physical skies. You can choose HDRI/ IBL backgrounds from the Options user interface.
Please learn about how to use HDRI/ IBL lighting.
- HDRI/ IBL web page and video tutorial.
- Quick Start Exterior Rendering tutorial about HDRI/ IBL lighting