Understanding the intensity and exposure sliders
Lighting in SU Podium is a two-part calculation, a composite result derived from both direct and indirect light sources.
The environment tab provides two ways to adjust lighting; the intensity and exposure sliders. These are chiefly used to control the overall illumination level in your image, however the sliders affect your render in slightly different ways.
- Intensity - The intensity slider corresponds to the brightness and intensity of the sun (a direct light source).
- Exposure - Controls the brightness of indirect or ambient light from the sky and surrounding environment.
Examples:
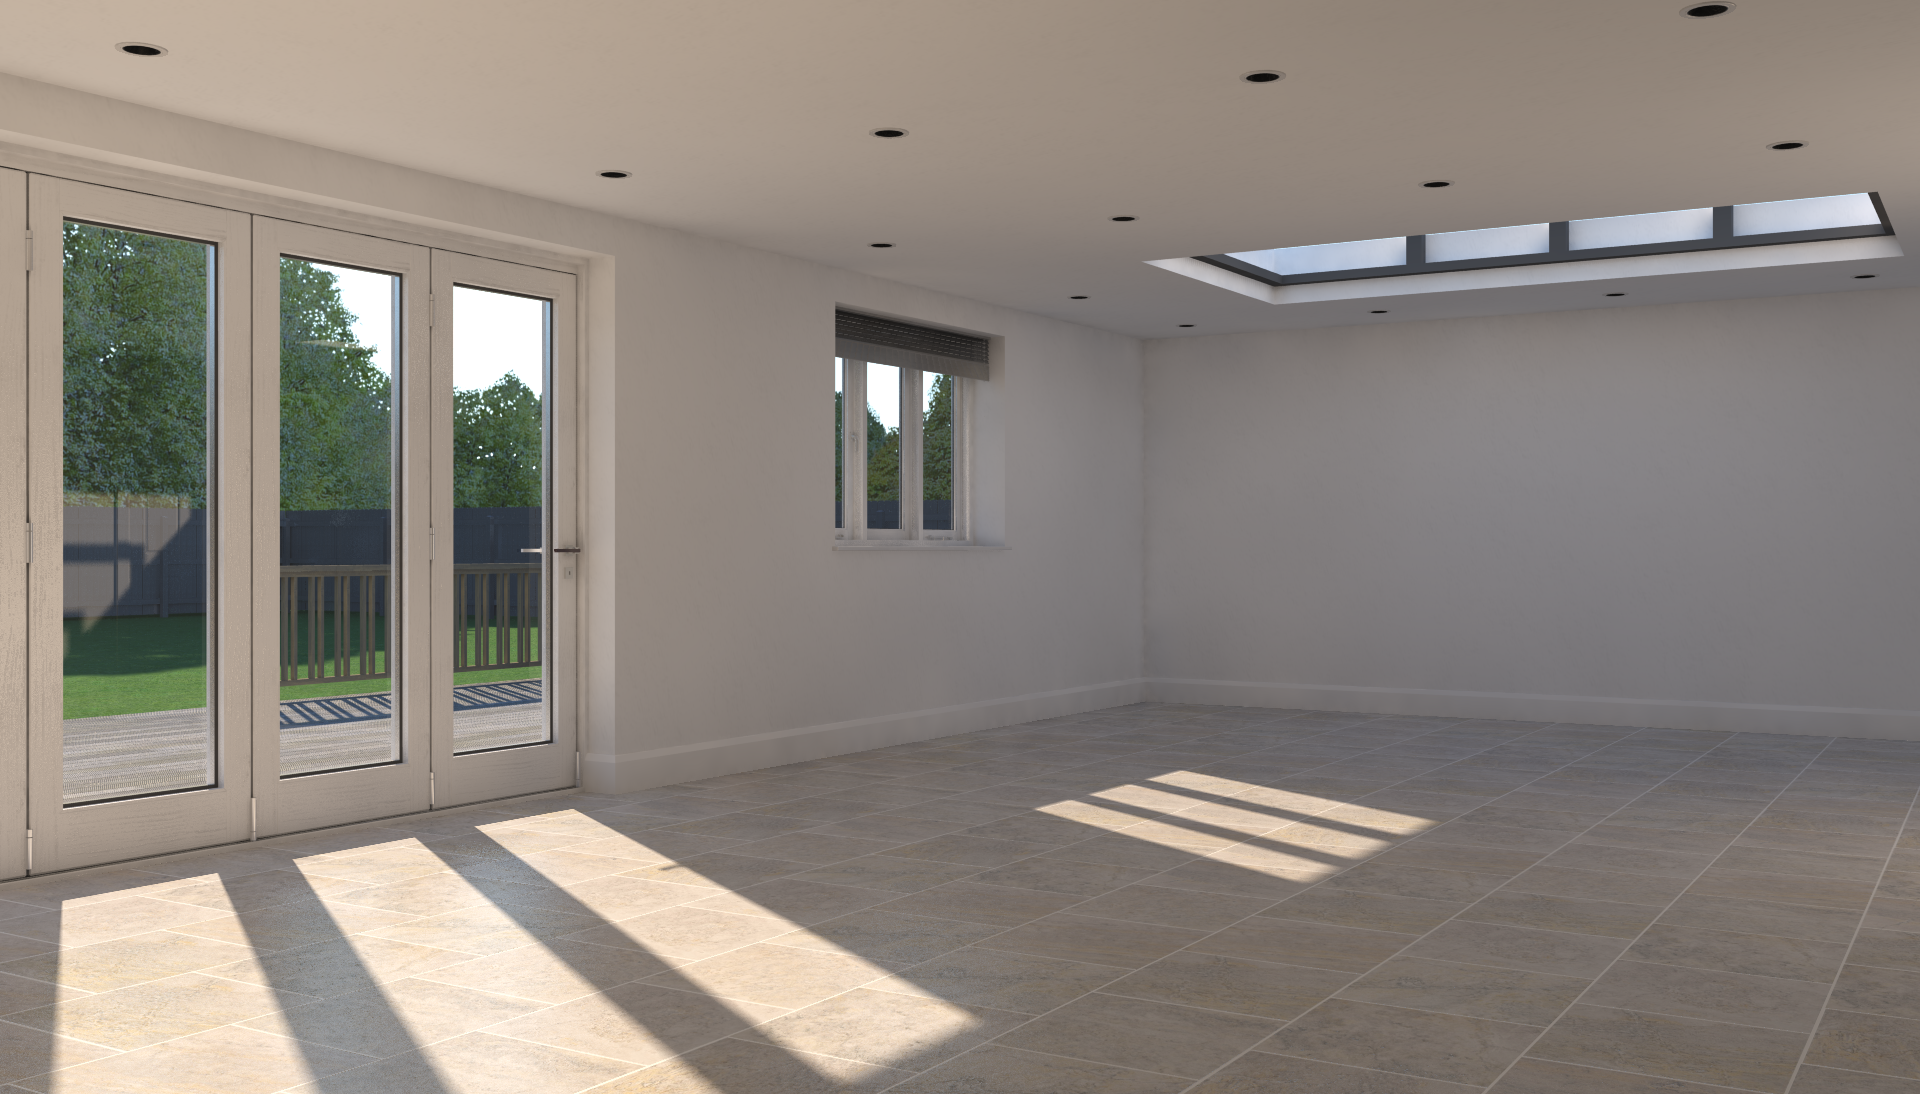
This set of comparison images will give you an idea how the two sliders affect your rendered image. The first example leaves both sliders at 50%.
All images use the interior default preset, with shadows set to approximately 6:00pm.
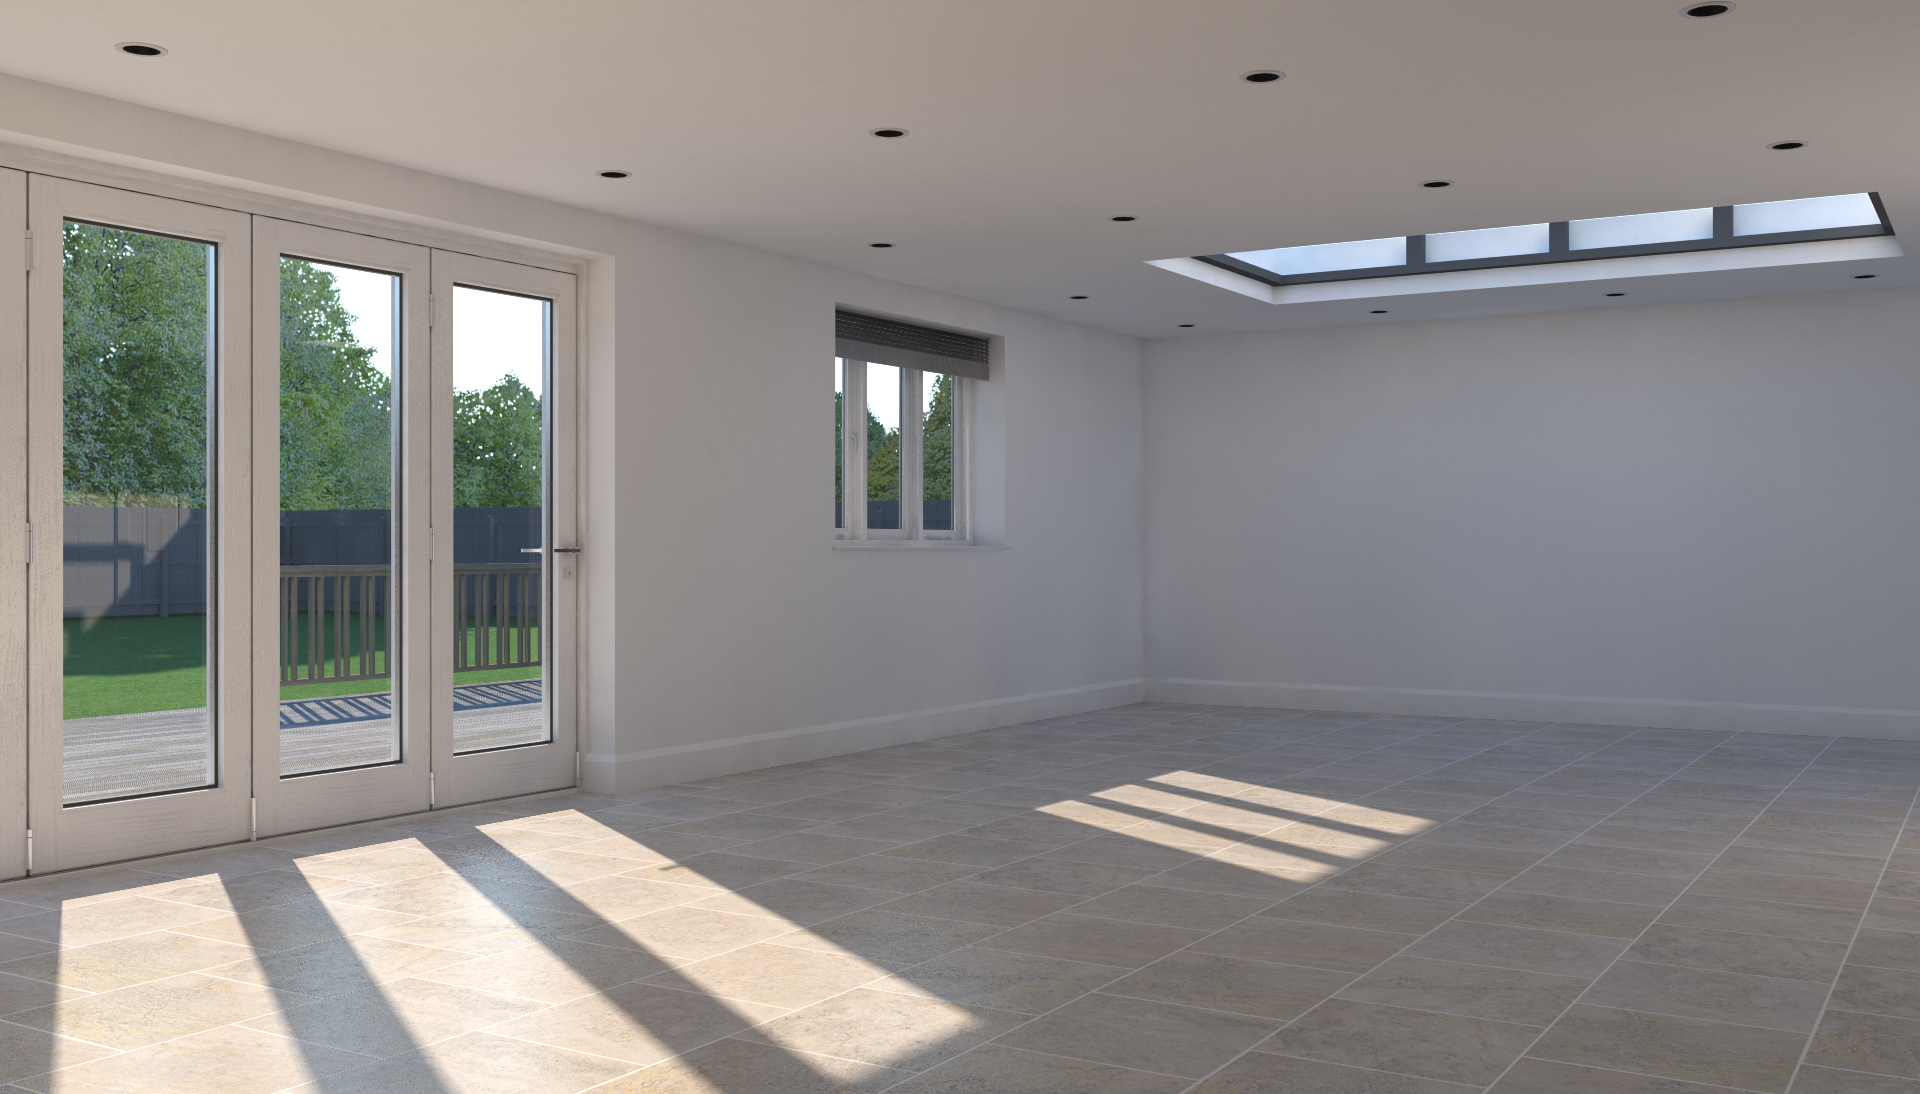
Intensity 50%, Exposure 50%
The default 50/50% gives relatively equal weight to direct sunlight, and indirect light from the sky/environment. This is usually a great starting point, providing relatively neutral illumination levels, and an appealing balance of warm and cool tones.
Intensity 0%, Exposure 0%
Intensity 100%, Exposure 100%
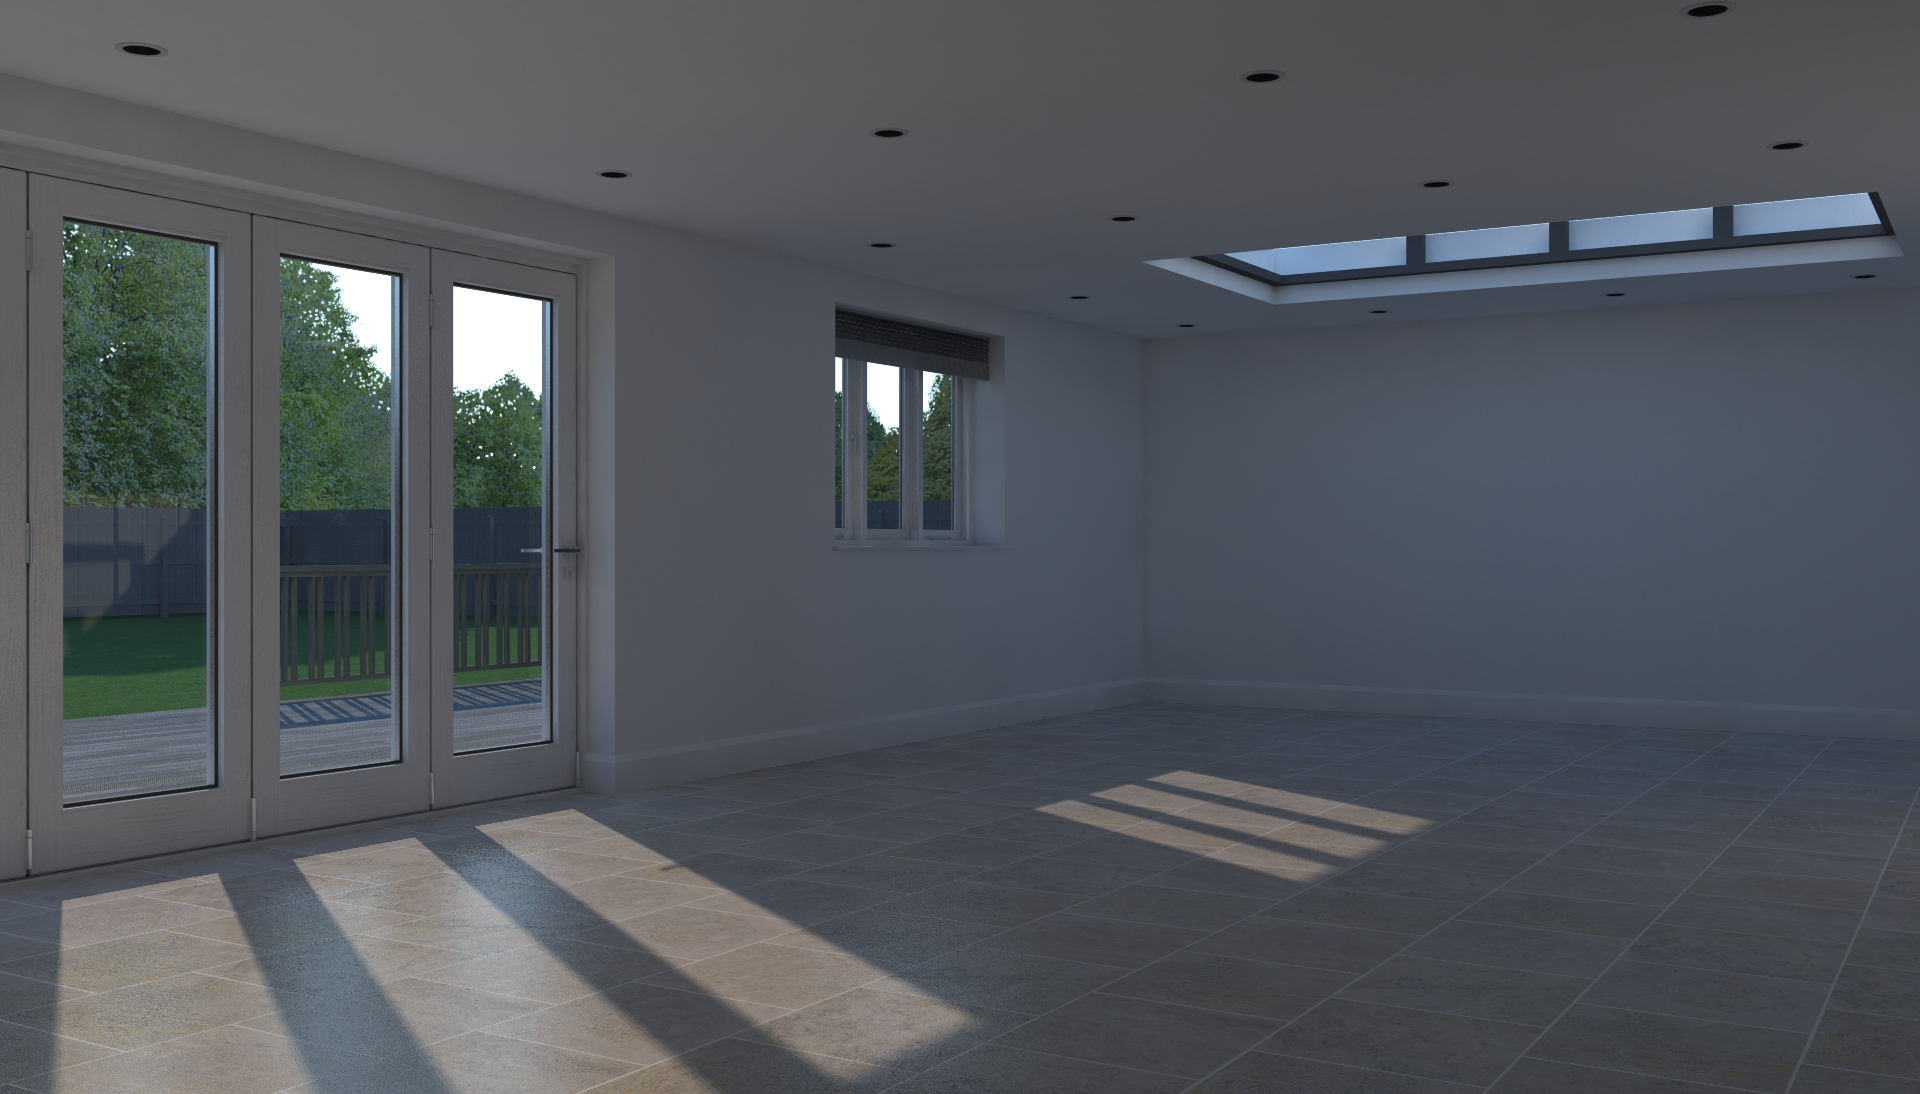
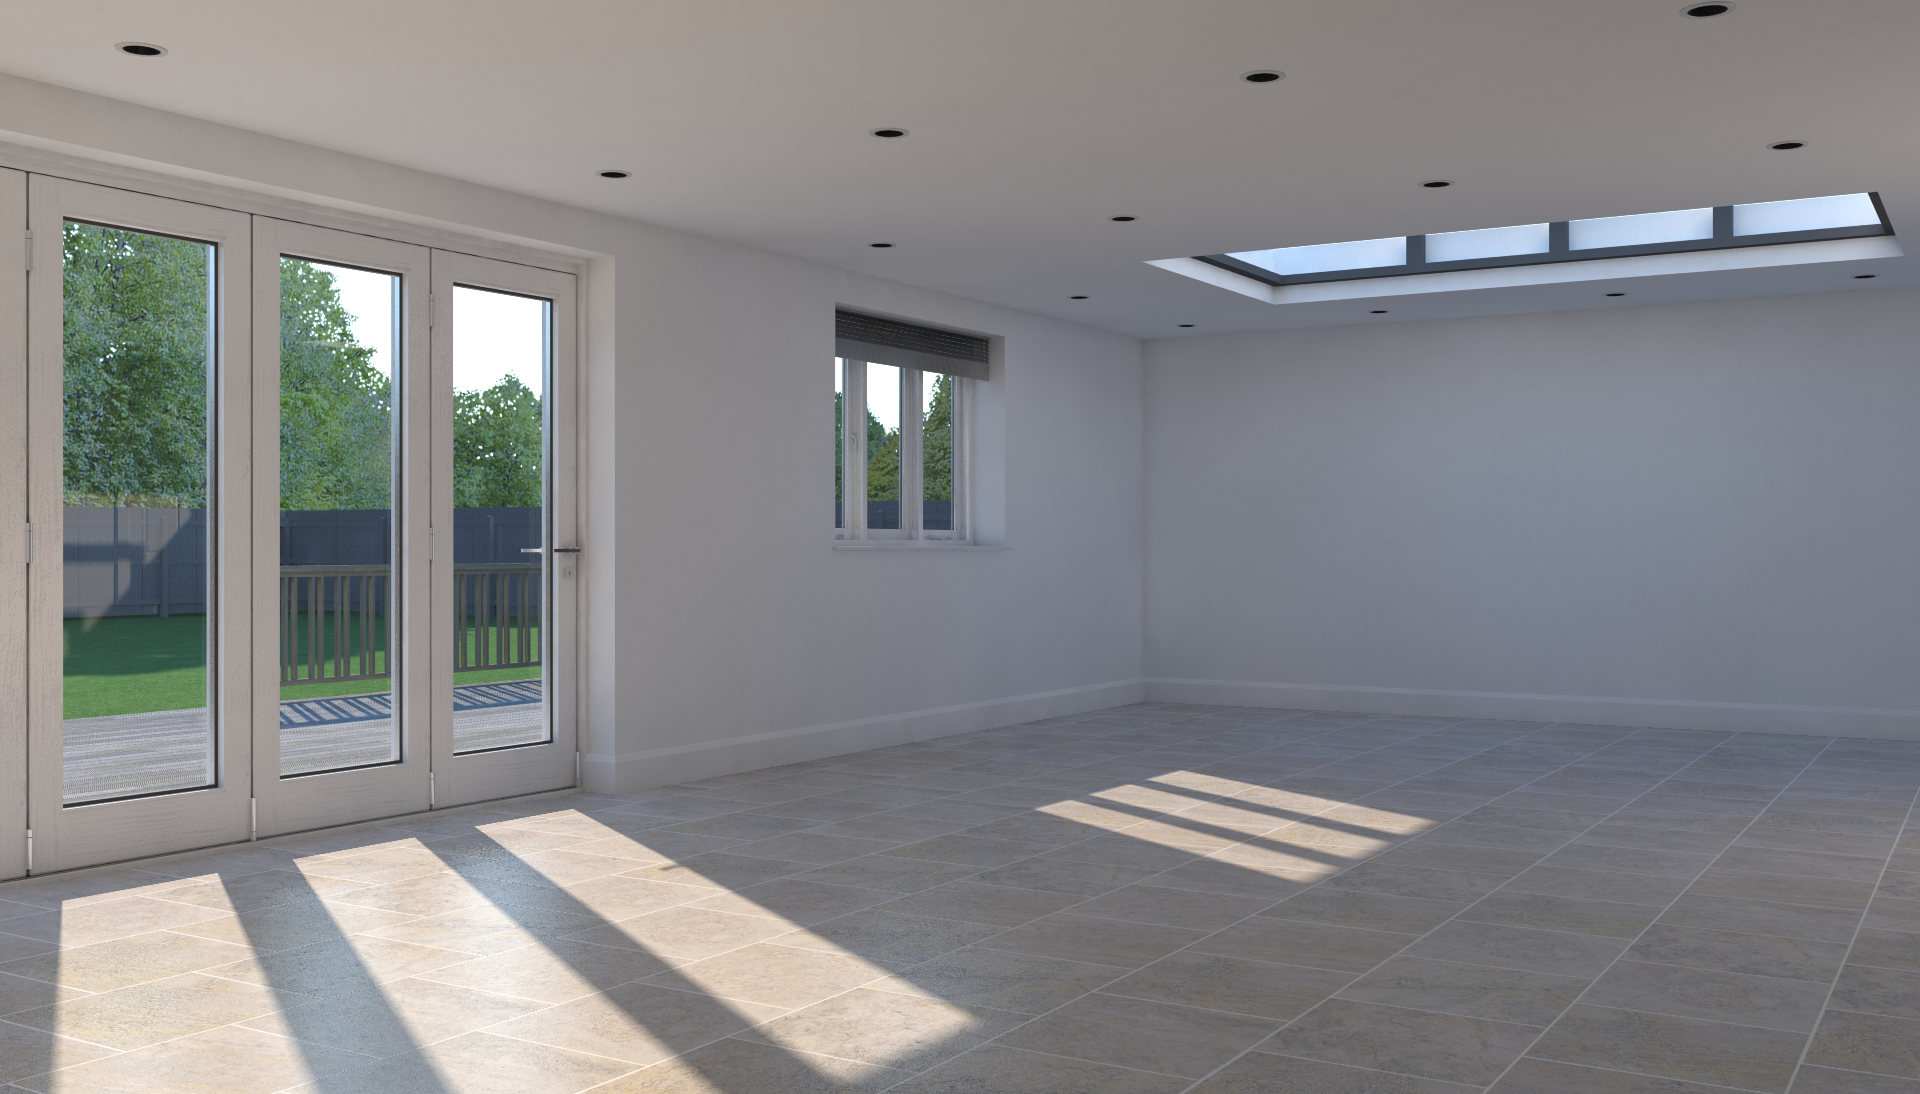
Intensity 0%, Exposure 100%
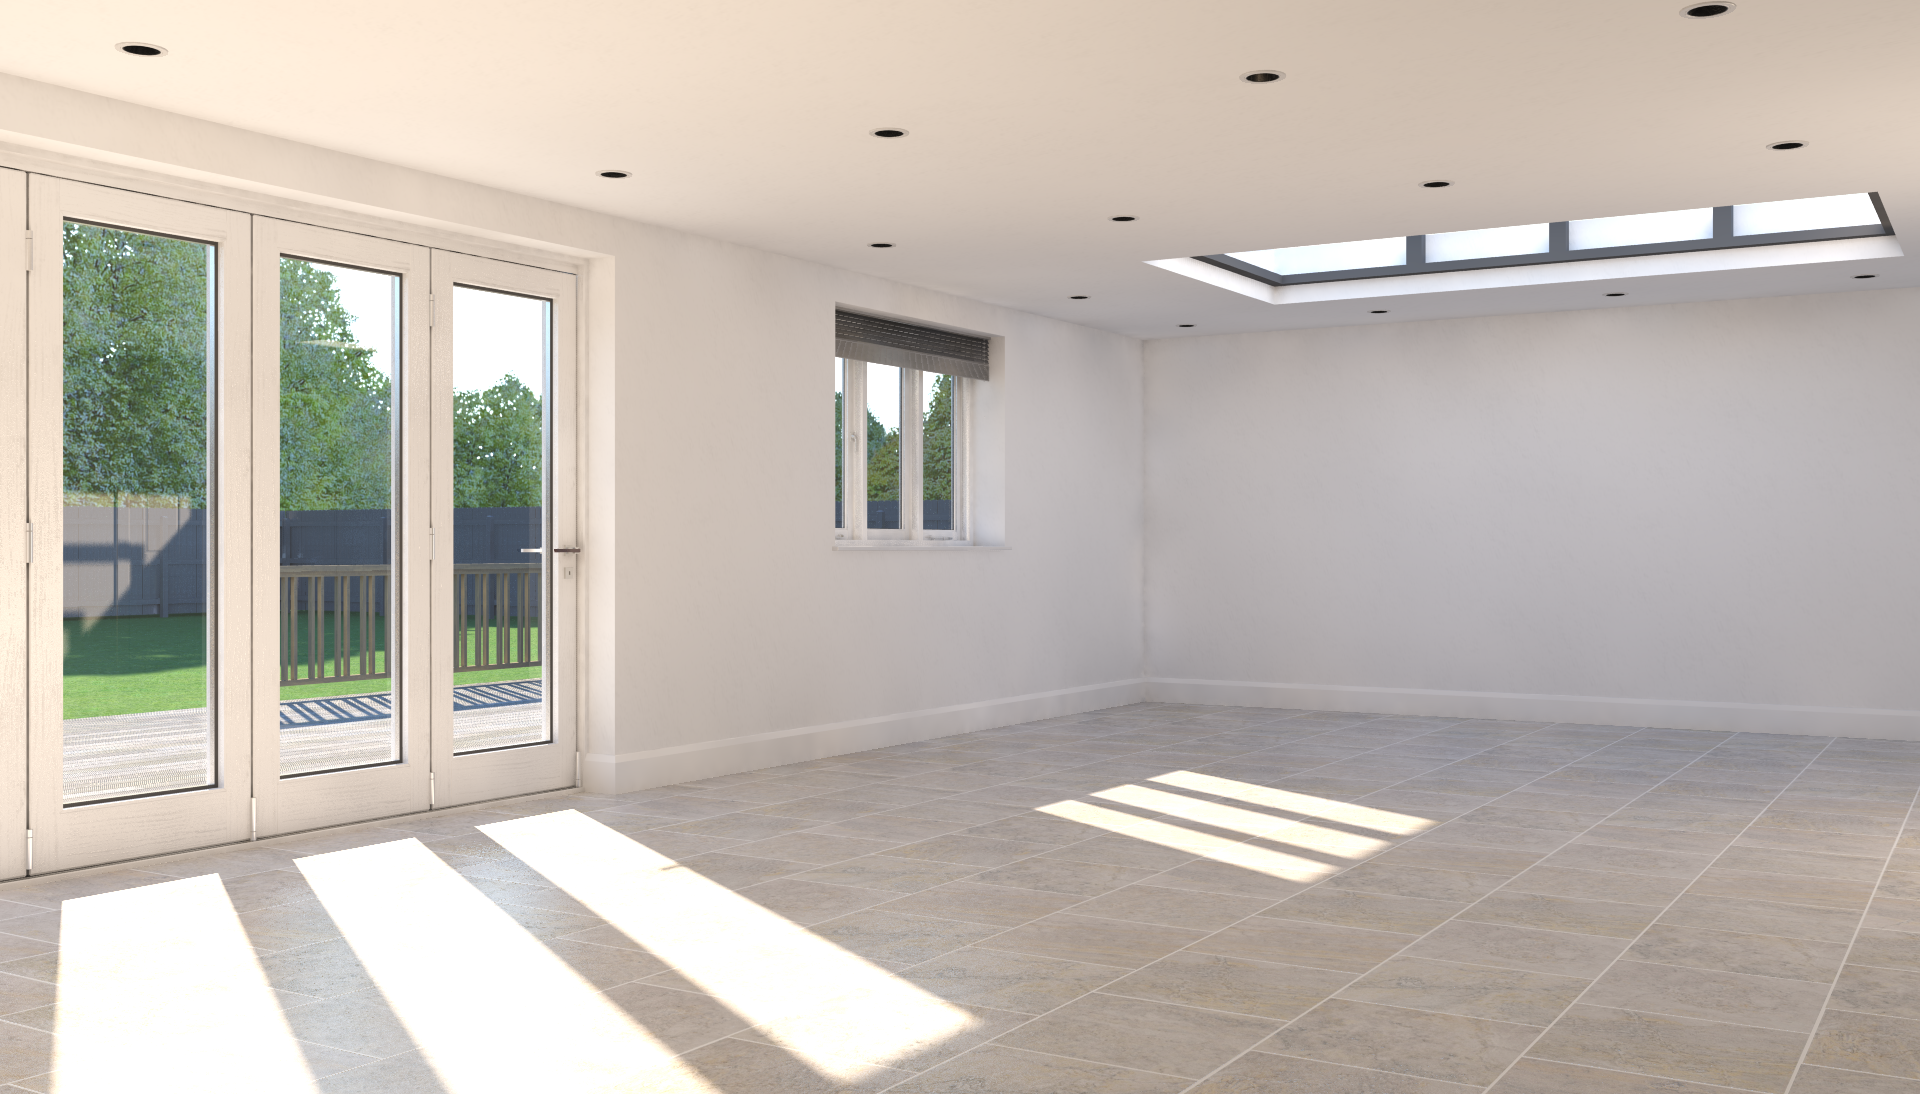
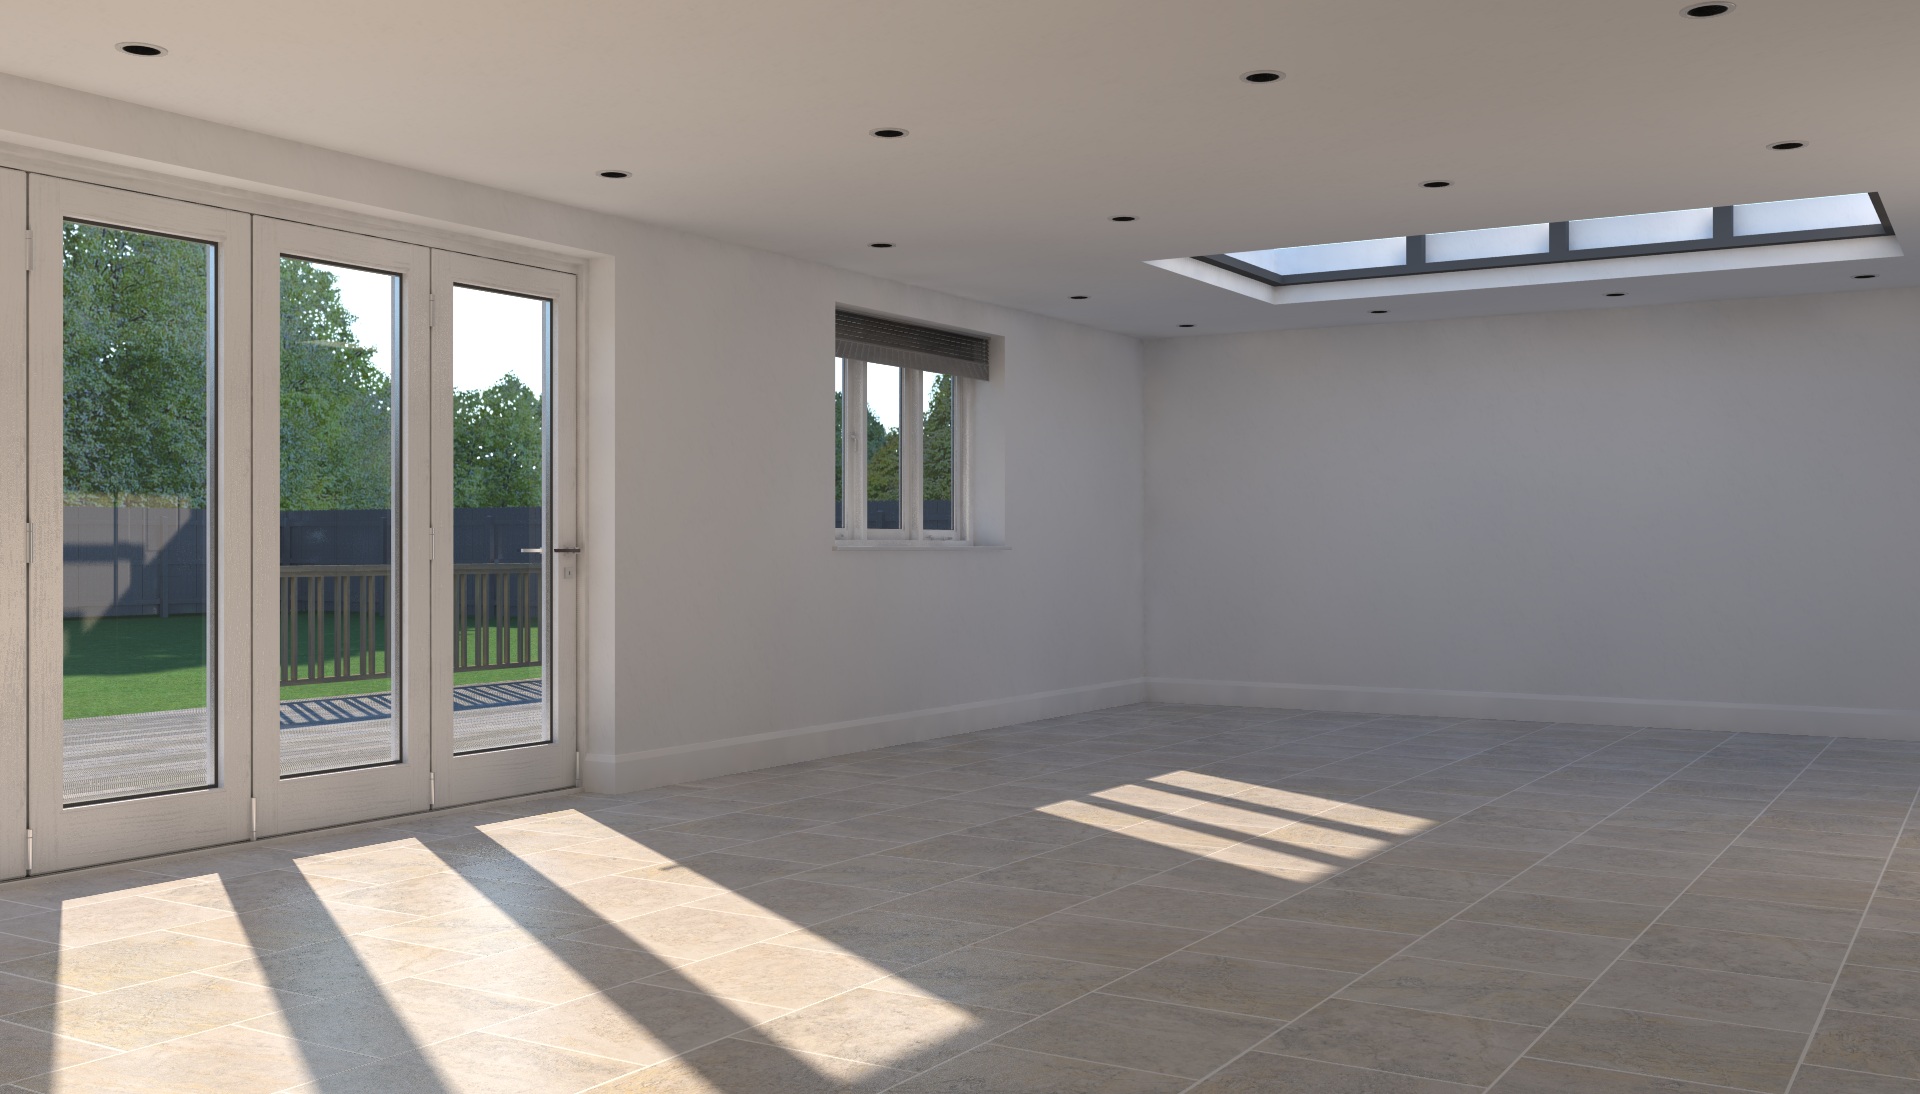
Intensity 100%, Exposure 0%
This is perhaps the most illustrative example. When the intensity is set to 0%, the influence of the SketchUp "sun" is greatly reduced, and all the warmth disappears from the image. With the exposure boosted to 100%, the tones of the sky and surrounding environment are more prevalent, and the image takes on a much cooler, bluish hue.
Notice also that the overall illumination level in the Int 100/Exp 0 example is similar to the 50/50 image at the top, but takes on a slightly warmer tone because of the increased intensity.
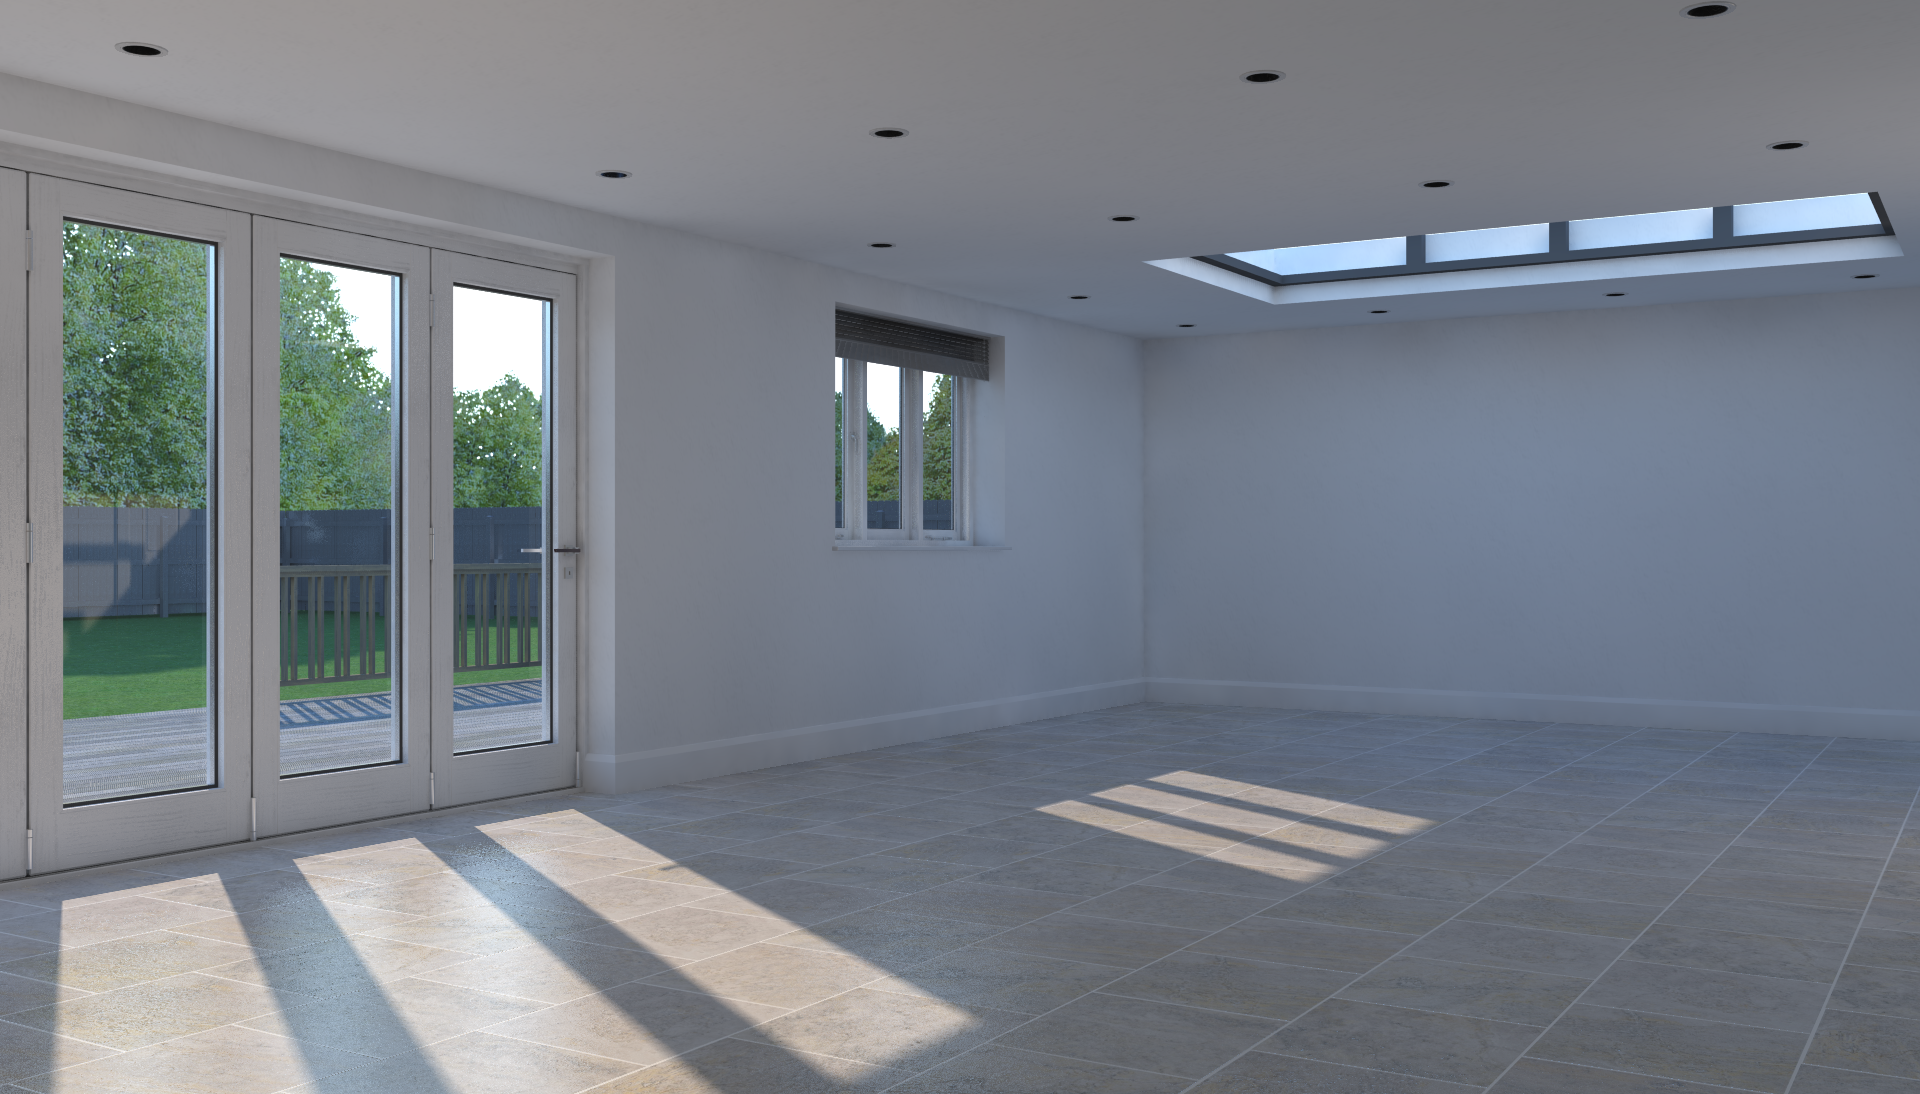
Intensity 25%, Exposure 75%
Intensity 75%, Exposure 25%
Note that moving the sliders only 25% in either direction affects the image's tone distribution but does not cause a drastic difference in the overall illumination level.
It takes a lot of slider movement to brighten or darken your render. Remember also that brightness and contrast can be adjusted quickly and easily in post-processing using Podium Image Editor or Photoshop.
Use interior "bright" presets if you need more illumination
These images all use the standard interior_default preset, and in this case it works because the skylight and large windows let a lot of light into the space. If you're rendering a room with less natural light, try the "interior bright" presets before resorting to lighting hacks (like opening an additional off-camera hole) or using an LEM fill light.