Podium Browser Roof Tiles Tutorial
In this tutorial we will show you how to quickly populate a roof using Podium Browser roof tiles from the Hardware & Construction → Roofing category in Podium Browser.
Before you begin! – This technique requires the “Random Replacement” plugin to work. Please download and install the script before proceeding:
You can download it here.
The Random Replacement plugin is a Ruby *.rb file, and cannot be installed from within SketchUp. Manually copy the script into the appropriate plugin folder determined by your SketchUp version. If you aren’t sure where to install the script, read here.

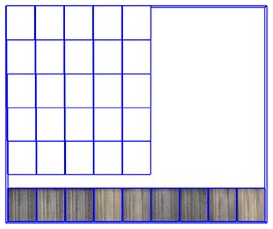
1. Select and download into your model one of the roof tile components from Podium Browser
This technique will work with both roof tiles and end caps.

2. Place it anywhere in your scene and explode the component once.
This technique will work with both roof tiles and end caps.

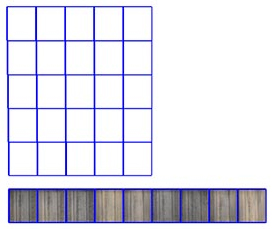
3. Use the white template tiles to create an array of blank roof tiles.
This technique will work with both roof tiles and end caps.
4. Select all of the white template tiles and the textured tiles. We will now use the Random Replacement plugin to randomly map the textured tiles to the blank tile array.

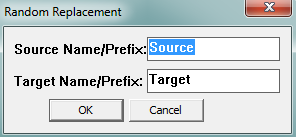
5. From Plugins menu select the Random Replacement plugin.
To simplify the replacement process, most of our roofing tiles and end caps have already been renamed “Source” (for textured tiles) and “Target” (for white template tiles). For these items it is not necessary to change the text in the Random Replacement window (shown right).
If you are using your own custom items with the Random Replacement plugin, add “Source” and “Target” in the name attribute box in the model’s entity info.
Important – Before using Random Replacement, make sure to save and backup your model.

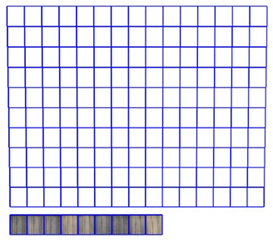
6. Click OK. Your final result should look something like this:
