- SUPlugins Home Page
- Help Video Tutorial
- Forums
- FAQ and trouble shooting
- Operating SU Podium
- 1. Intro and Download
- 2. Install, Troubleshoot, Uninstall
- 3. Activate License
- 4. Render process and getting started
- 5. Download and samples to test
- 6. Where to get Support
- 7. What version do I have?
- 8. Check List to help Support.
- Options Menu
- Apply Material Properties
- Lights
- Render, OOPR, Preview
- Other items in the pull down menu
- Other Features and plugins
- 1. Podium Browser
- 2. Preset Editor
- 3. Omni Grid V2
- 4. Podium::Render script
- 5. RenderAll scenes
- 6. Podium Styles
- 7. Section_Tool
- 8. EditInPlace
- 9. PanoramaVR
- A summary of Tutorials
- SU Podium Books
- Software End User License Agreement
LEM fill lighting tutorial
|
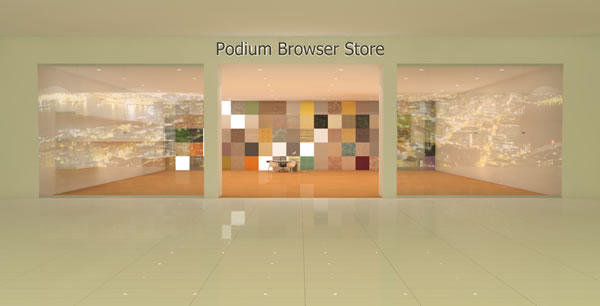
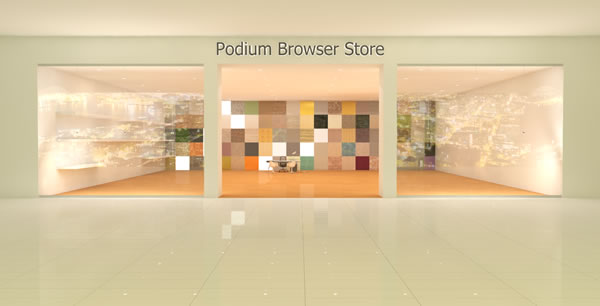
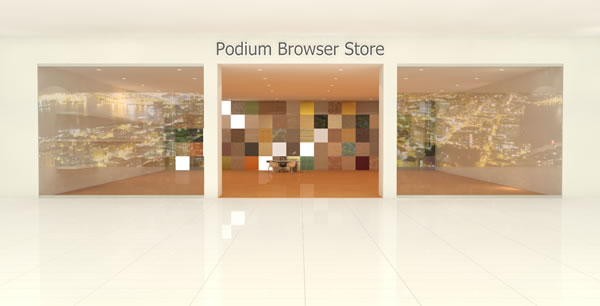
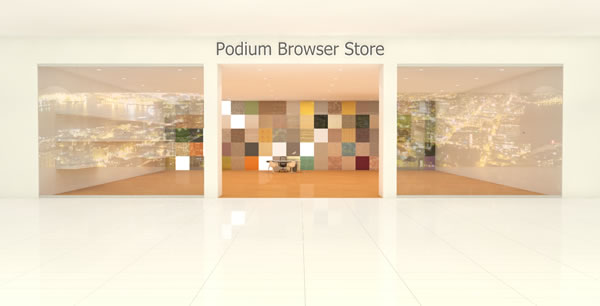
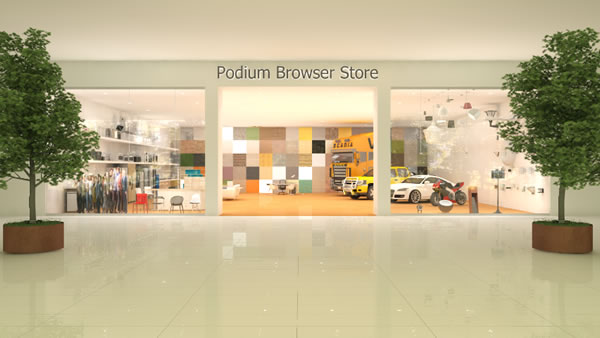
The goal of this tutorial is to boost light levels in low level ceiling and closed interior environments like a shopping mall. The light source that will be used is primarily hidden LEM although there are a number of recessed ceiling light fixtures. If you are not familiar with LEM’s, please read here. You can also view the LEM video tutorial here. The below image shows a rendering of a fictitious empty Podium Browser mall store with a large interior and a low ceiling. There are recessed light fixtures that have some omni and spot lights and there are some LEM background lights but the lighting is not strong enough for a shopping mall. What we will do in this tutorial is use hidden LEMs to distribute light evenly through out the store and hallway. See the final images to view the goal of this tutorial. The LEM-behind-camera technique will not help, in this case because of the size and depth of the interior of the model. A different way to evenly fill the interior with LEM lighting is necessary. We will use hidden LEM faces to illuminate both inside the store and the hallway of the shopping mall. To follow along step by step, download the Browser_store_just_lights_no_lem model here. There is also a 3 scene model with all the LEM materials completed that you can look at to get an idea of how the LEMs were created. It's called Browser_store_just_lights.
To create the fill light for the store, first select the floor or the ceiling surface from inside the Podium Browser store and make a copy of it.
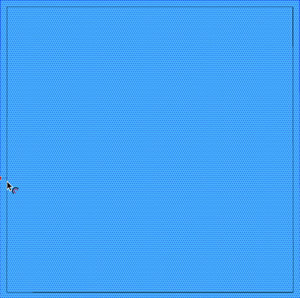
Then use SketchUp's offset tool to make the copied surface smaller by 50 cm / 20 in
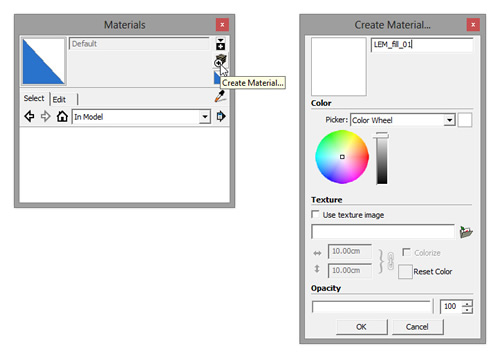
Create a new SketchUp material. We will name it LEM_fill_01. Set color to white or use any other color if you need colored light.
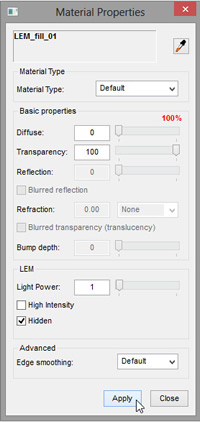
Next with the new material highlighted or selected, open the SU Podium V2 or V2 Plus Material dialog box. There are some differences between V2 and V2 Plus materials dialog box but either version will work. In Podium Material Property dialog box, set LEM value to 1 and check “Hidden” option. If you are using V2, please increase the transparency of the material to 100% (this is automatically done in V2Plus).
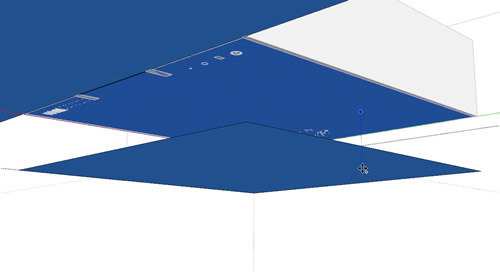
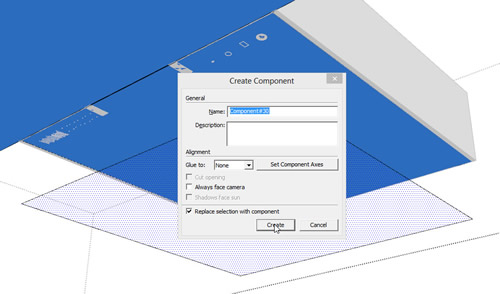
Apply the LEM material property to the newly created surface. Double click on the new LEM surface so that its face and edges are highlighted and turn it into a SketchUp component. Then vertically move the surface along the Z axis (blue axis) and position the LEM component between the floor and the ceiling.
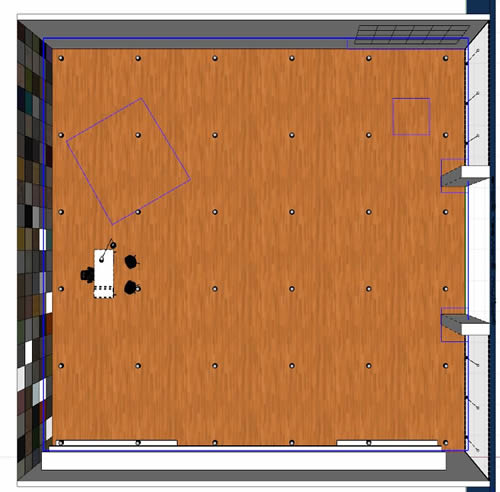
Optionally, go to the top ceiling scene (or turn off the ceiling layer and use your top view). Edit the new LEM component and cut off areas that are intersecting or close to scene geometry if needed.
Go back to Scene 1 and render using the interior_default_1.0.5 Preset. The Environment can be set to Default since the Physical Sky will have no effect on this enclosed interior. Render size is up to you. You should get a result similar to the below image.
Look at the Browser_store_just_lights model if you are not getting the same results. This model has three scenes with additional LEM "fill" components. One is for the mall hallway. Another set of LEM components are for the windows of the store. These should give you a good idea of how to evenly distribute light in a relatively low ceiling but large interior space.
|
